Learn
How to Photograph Roof Storm Damage for an Insurance Claim
Photos are the backbone of your claim file. Here's exactly what to photograph, how to shoot it, and the common documentation mistakes that give adjusters reasons to say no.
Safety First: Don't Climb an Unsafe Roof
Before anything else: you do not need to walk your roof to document a claim. Steep slopes, wet shingles, and storm-weakened decking injure homeowners every year, and no claim is worth a fall. Everything in this guide can be done from the ground, a ladder at the eave, a window, or with a drone — and if your roof isn't safely accessible, say so and let the adjuster or a professional do the on-roof work.
What follows is organized the way a good claim file is organized: wide shots that establish the scene, then progressively tighter shots that prove the damage.
Start Wide: Establishing Shots
Begin with photos that show the whole house. Shoot from all four sides, far enough back to capture the full roof in frame. These establish which house this is, the general condition of the roof, and — critically — the context that individual close-ups lack. A hail hit close-up proves nothing by itself; the same hit in a photo that also shows the slope, the ridge, and the neighbor's fence proves it happened on your roof.
Include the street or a recognizable landmark in at least one frame, and photograph any visible storm evidence at ground level: hailstones (with something for scale, and shoot fast — they melt), downed branches, damaged patio furniture, dented gutters and downspouts. Ground-level damage corroborates what happened on the roof, and adjusters notice when it's present.
Go Slope by Slope
Photograph each roof slope individually — front, back, left, right — with overlapping medium shots that cover the entire surface. The goal is complete coverage with no gaps: if you later need to show that damage was widespread rather than isolated, a full set of slope photos does it in one glance.
Keep your orientation consistent. Shoot slopes in the same order every time (for example, always clockwise starting at the front), and keep notes on which photos belong to which slope. When you're looking at forty photos three months later, "slope 2" is useless — "east slope, facing the street" is not.
Pay special attention to the features adjusters scrutinize: valleys, ridges, hips, and anywhere the roof meets a wall or chimney. Damage concentrates at these transitions, and they're the first places an adjuster's photos will go — make sure yours get there first.
Close-Ups That Prove Damage
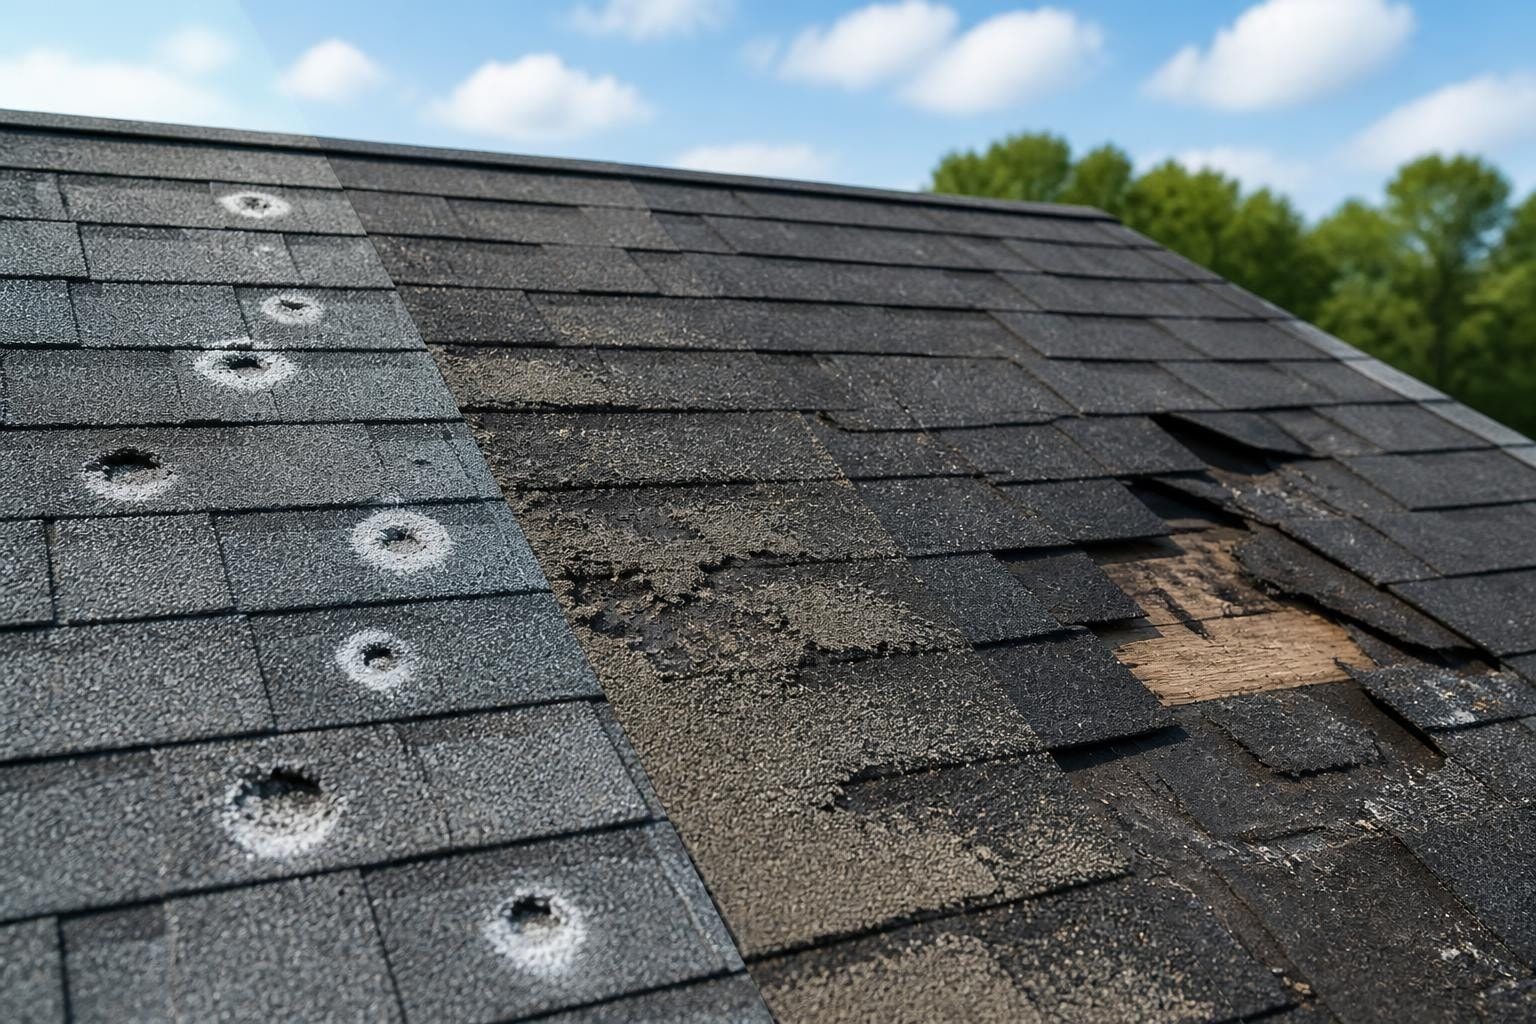
Close-ups are where claims are won and lost, and most homeowners' close-ups fail for the same reason: no sense of scale. A dark spot on a shingle could be a quarter-inch or three inches across, and the adjuster reviewing your photos has no way to know. Fix it with a scale reference in every close-up:
- A coin, a tape measure, or a ruler laid next to the damage — tape measures are best because they give an exact reading
- Chalk or a marker circling the damage (chalk a circle, then photograph the circled area with the scale reference inside)
- The same damage shot from straight above and at a slight angle — angled shots show depth, bruising, and displaced granules that flat shots miss
For hail, photograph multiple hits across different slopes — one hit is an anecdote, a dozen is a pattern. For wind, photograph lifted, creased, or missing shingles, and get the crease lines where shingles folded. For flashing and vents, shoot dents, bends, and displaced seals up close with the same scale discipline.
If you can safely reach the eave with a ladder, lift a shingle tab gently and photograph the underlayment beneath — trapped moisture or torn felt tells a story about water getting where it shouldn't.
Don't Forget the Inside and the Edges
The roof isn't only the shingles. Photograph the accessories and the interior evidence that rounds out the file:
- Gutters and downspouts: dents, dings, and granule buildup in the gutters (heavy granule loss in the gutter is classic hail evidence)
- Vents, flashing, and skylights: dented turbine vents, bent flashing, cracked skylight domes
- Siding, windows, and screens: hail damage to siding and window screens corroborates the storm's direction and intensity
- The attic: water stains on the underside of the decking, daylight visible through the roof, wet insulation — photograph with a flashlight and note the location relative to the roof slope above
- Interior ceilings and walls: stains, bubbling paint, or active drips, with a wide shot showing which room and a close-up of the stain itself
Metadata: Your Photos Are Evidence
A photo without a date is just a picture; a photo with a date is evidence. Make sure your phone's location and timestamp are enabled before you shoot — the embedded metadata (date, time, and GPS) is what lets you prove when the damage was documented. Back the photos up to at least two places (cloud plus a computer or external drive), because phones get lost and claims take months.
Organize as you go: create a folder named with your claim number and date of loss, with subfolders for wide shots, each slope, close-ups, interior, and storm evidence. When your contractor or adjuster asks for "the photos," sending one organized folder instead of sixty unsorted texts changes how seriously your documentation gets taken.
What NOT to Do
A few mistakes actively hurt claims:
- Don't edit or filter the photos. No cropping out context, no brightness boosts, no filters. Edited photos invite suspicion about everything else in your file.
- Don't stage damage. Don't lift shingles to make wind damage look worse, don't scatter old hailstones, don't mark damage that isn't there. Staged documentation, once suspected, poisons the entire claim.
- Don't wait. Shoot the storm evidence the day it happens if you can do so safely. Hail melts, branches get cleared, and "the damage looked worse right after the storm" is not evidence.
- Don't delete the bad shots. Blurry or redundant photos cost nothing to keep and can occasionally capture something you didn't notice in the moment.
One more thing worth knowing: the photos you take before the adjuster's visit shape the conversation during it. When you can walk the adjuster through dated, organized, slope-by-slope documentation, you're not arguing about whether damage exists — you're pointing at it. That difference matters.
Want the complete photo system?
The Storm Damage Photo Guide ($27) is a full shot-by-shot system for documenting roof claims — checklists for every slope, angle diagrams, metadata setup, and an organization method your adjuster will actually respect.